
#
Install Git Client on Windows (TortoiseGit)

This tutorial explains how you can install Git client (TortoiseGit) on Windows. This tutorial has a step-by-step approach.
Git comes with built-in GUI tools for committing (Git-GUI) and browsing (gitk), but there are several third-party tools for users looking for platform-specific experience. Here are the most used Git client tools: https://git-scm.com/downloads/guis .
In my tutorial I will show you how to install TortoiseGit on Windows.
Download the .msi file from https://tortoisegit.org and run it.
You will see the following screen:
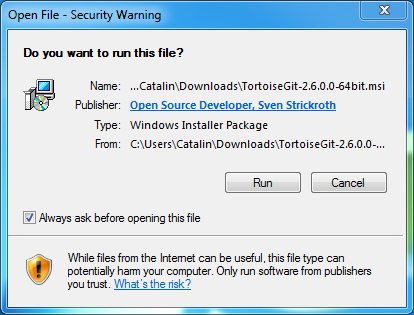
Click on "Run" button, and you will see the following window:
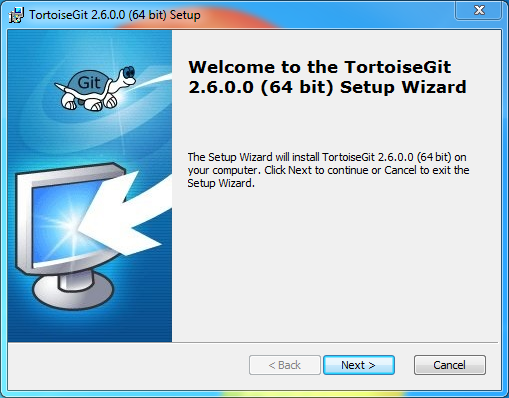
Click on "Next" button, and you will see the "Information" window during the TurtoiseGit installation:
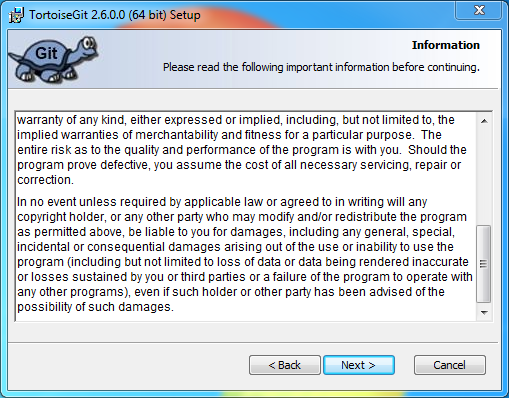
Click on "Next" button, and you will see the "Choose SSH Client" window during the TurtoiseGit installation:
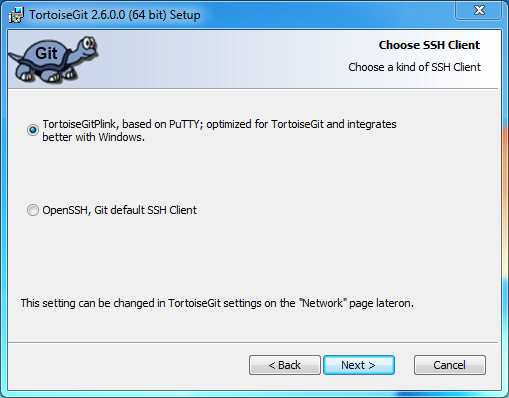
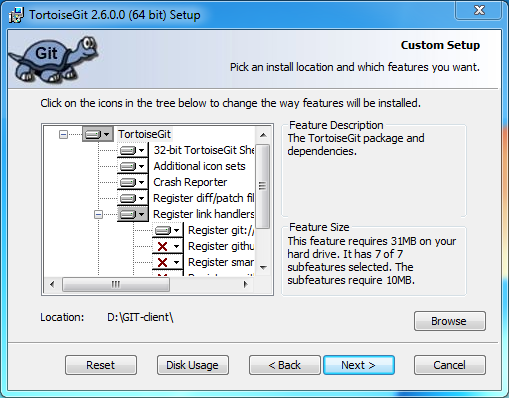
Click on "Next" button, and you will see the "Custom Setup" window during the TurtoiseGit installation:
Click on "Next" button, and you will see the "Ready to install" window during the TurtoiseGit installation:

Click on "Install" button, and you will see the following window during the TurtoiseGit installation:
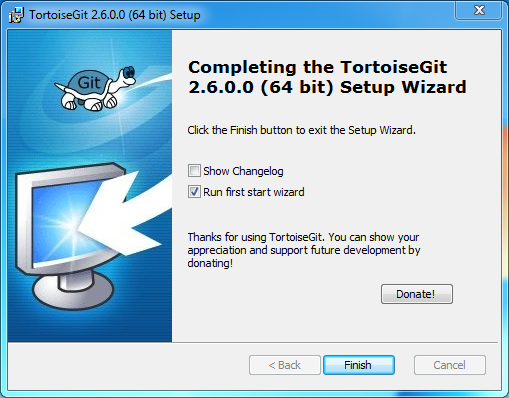
Click on "Finish" button, and you will see the following window from the TortoiseGit Wizard:
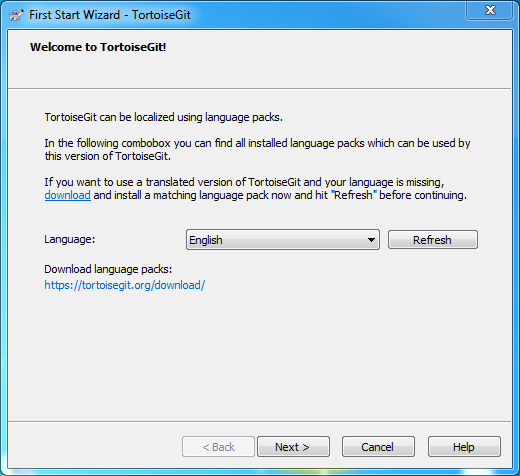
Choose the language you want.
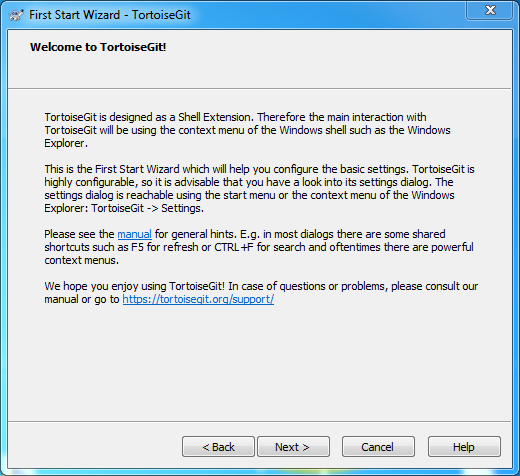
Click on "Next" button, and you will see the "Welcome to TortoiseGit" window from the TortoiseGit Wizard:
Click on "Next" button, and you will see the "Configure git.exe" window from the TortoiseGit Wizard:
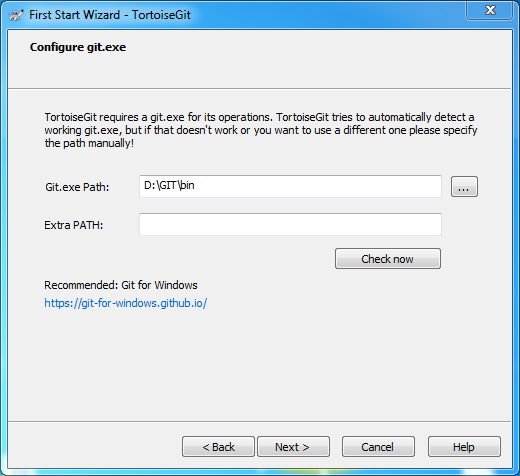
Enter the Git executable path.
Click on "Next" button, and you will see the "Configure user information" window from the TortoiseGit Wizard:

Enter your name and the email you want to use.
Click on "Next" button, and you will see the "Authentication and credential store" window from the TortoiseGit Wizard:
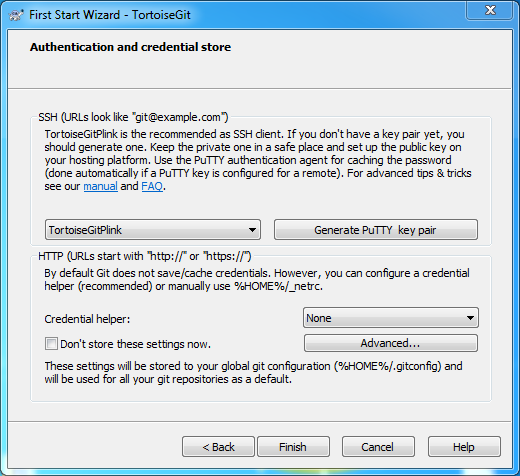
Click on "Finish" button and now you can enjoy your TurtoiseGit installation on Windows !